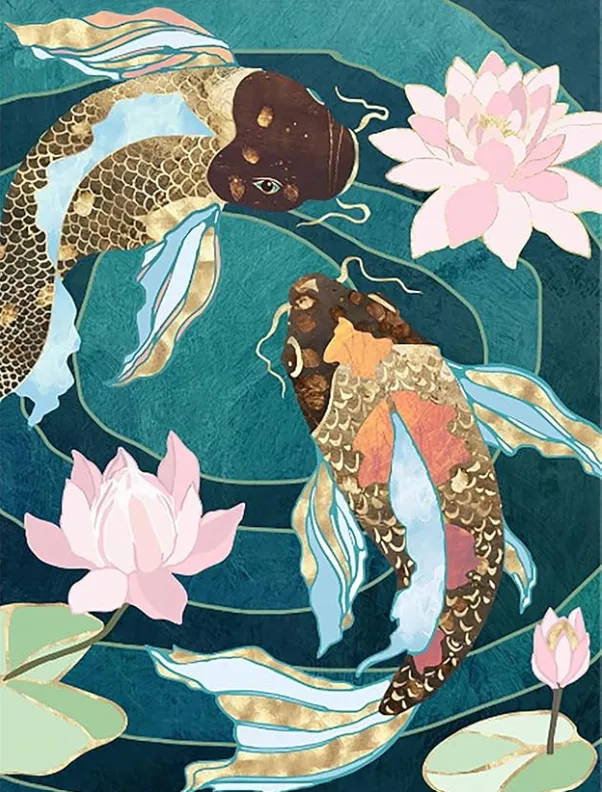
Introduction koi fish painting easy
koi fish painting easy, Have you ever admired koi fish and thought about capturing their beauty on canvas? Koi fish are not just mesmerizing to watch; they’re also symbols of luck and prosperity, making them a fantastic subject for art. This guide will walk you through a simple, beginner-friendly process for painting koi fish that’s both fun and rewarding.
Materials You Will Need koi fish painting easy
Before diving into the painting process, ensure you have the following materials:
- Canvas: A pre-primed canvas of your preferred size.
- Acrylic Paints: Essential colors include white, red, yellow, black, and blue.
- Paintbrushes: A mix of fine detail brushes and medium-sized brushes.
- Palette: For mixing paints.
- Water Container and Cloths: To clean brushes and manage spills.
- Pencil and Eraser: For initial sketching.
- Palette Knife: Optional, for creating textured effects.
These materials are easy to find and beginner-friendly, making koi fish painting easy to start.
Setting Up Your Workspace
A well-organized workspace can make a big difference in your painting experience. Choose a well-lit area with enough space to spread out your materials. Use an easel for better positioning, or work on a flat, stable surface. Keep your brushes, paints, and water within easy reach to avoid interruptions.
Understanding Koi Fish Anatomy
To paint koi fish realistically, familiarize yourself with their anatomy. Koi fish have elongated bodies, flowing fins, and unique color patterns. Studying photos or observing real koi fish can help you better understand their shapes and movements.
Sketching Your Koi Fish
Start with a light pencil sketch on your canvas. Outline the koi fish’s body, head, and fins using basic shapes. Focus on getting the proportions right, as this will serve as the foundation for your painting. Don’t stress about perfection at this stage; it’s all about creating a guide.
Preparing Your Canvas
If your canvas isn’t pre-primed, apply a layer of gesso and let it dry completely. This creates a smoother surface for painting. If you prefer, you can use graphite transfer paper to transfer your sketch onto the canvas.
Mastering Basic Painting Techniques
Before starting your koi fish painting, practice some basic techniques on scrap paper or an old canvas. Experiment with blending colors, creating smooth gradients, and layering paint. Acrylic paints dry quickly, so it’s important to work efficiently.
Creating the Background
Begin your painting by working on the background. Use shades of blue and green to create a watery effect. Broad, horizontal strokes can help mimic the look of calm water. Blend the colors well to avoid harsh lines.
Applying the Base Layer
Paint the body of the koi fish with a solid base layer of color. For example, you might use white or a light shade of orange. Leave the fins unpainted for now to make detailing easier later.
Adding Patterns and Details
Once the base layer is dry, it’s time to add the koi fish’s patterns. Use a smaller brush to paint spots, stripes, or patches in contrasting colors. Study reference images to replicate natural patterns.
Highlighting and Shading koi fish painting easy
To give your koi fish depth, add highlights and shadows. Use lighter tones where light would naturally hit, such as the top of the body, and darker tones for shaded areas, like under the fins.
Final Touches koi fish painting easy
Polish your painting by refining the edges and adding small details. You can include water ripples or reflections around the koi fish to enhance realism. These subtle touches make a big difference in the overall composition.
Drying and Sealing Your Painting
Let your painting dry completely before applying a sealant. A clear acrylic sealant protects your artwork and gives it a polished finish. Be sure to follow the manufacturer’s instructions for the best results.
Avoiding Common Mistakes
Here are some tips to sidestep common pitfalls:
- Overworking the Paint: Acrylic dries fast, so avoid over-blending.
- Neglecting Proportions: Use reference images to keep your sketch accurate.
- Skipping the Background: A well-done background sets the tone for your painting.
koi fish painting easy Conclusion
Congratulations! You’ve successfully completed a koi fish painting. Remember, every artist starts somewhere, and the key is to keep practicing. Each painting you create will be better than the last. Have fun, experiment, and let your creativity flow!
koi fish painting easy FAQs
How long does it take to complete a koi fish painting?
The time depends on your pace and level of experience, but it typically takes a few hours to a day.
Can beginners try this painting?
Absolutely! This guide is designed to make koi fish painting easy and enjoyable for beginners.
What if I don’t have all the materials listed?
Improvise with what you have. The most important thing is to start painting.
How can I make my koi fish painting more realistic?
Focus on highlights, shadows, and accurate patterns. Reference real koi fish for inspiration.
Are there any online resources for further learning?
Yes, many online tutorials and courses can help you refine your skills.
You may also like
- https://giobelkoicenter.com/what-do-koi-fish-represent-symbolism/
- https://giobelkoicenter.com/feminine-small-koi-fish-tattoo/
- https://giobelkoicenter.com/koi-variety-discovering-30-koi-fish-varieties/
- https://giobelkoicenter.com/9-koi-fish-feng-shui/
- https://giobelkoicenter.com/lucky-number-of-koi-fish-in-a-pond/
- https://giobelkoicenter.com/koi-pond-vacuum/
Table of Contents
Passionate about fish keeping since elementary school in the 1980s, Giovanni Carlo has dedicated countless hours to collecting and breeding a diverse array of ornamental freshwater fish. From vibrant guppies and majestic koi to striking bettas and classic goldfish, he continues to explore the fascinating world of aquatics, sharing knowledge and enthusiasm with fellow fish enthusiasts.
