Quick Answer
Fast koi for 24-48 hours before transport to reduce waste buildup, then use a properly sized, double-bagged transport bag with room for oxygen. Keep the water temperature stable and the bag as still as possible, minimize light and stress with a cover, and re-acclimate gradually over about 30 minutes at the destination — never release straight from the bag into new water.

Koi fish are prized for their beauty, and transporting them — whether to a new home, a show, or an emergency pond move — is a genuinely delicate process. Get it wrong and you risk real stress or injury; get it right and it’s straightforward with the right preparation.
How to Transport Koi Fish, Step by Step
1. Fast the Fish First
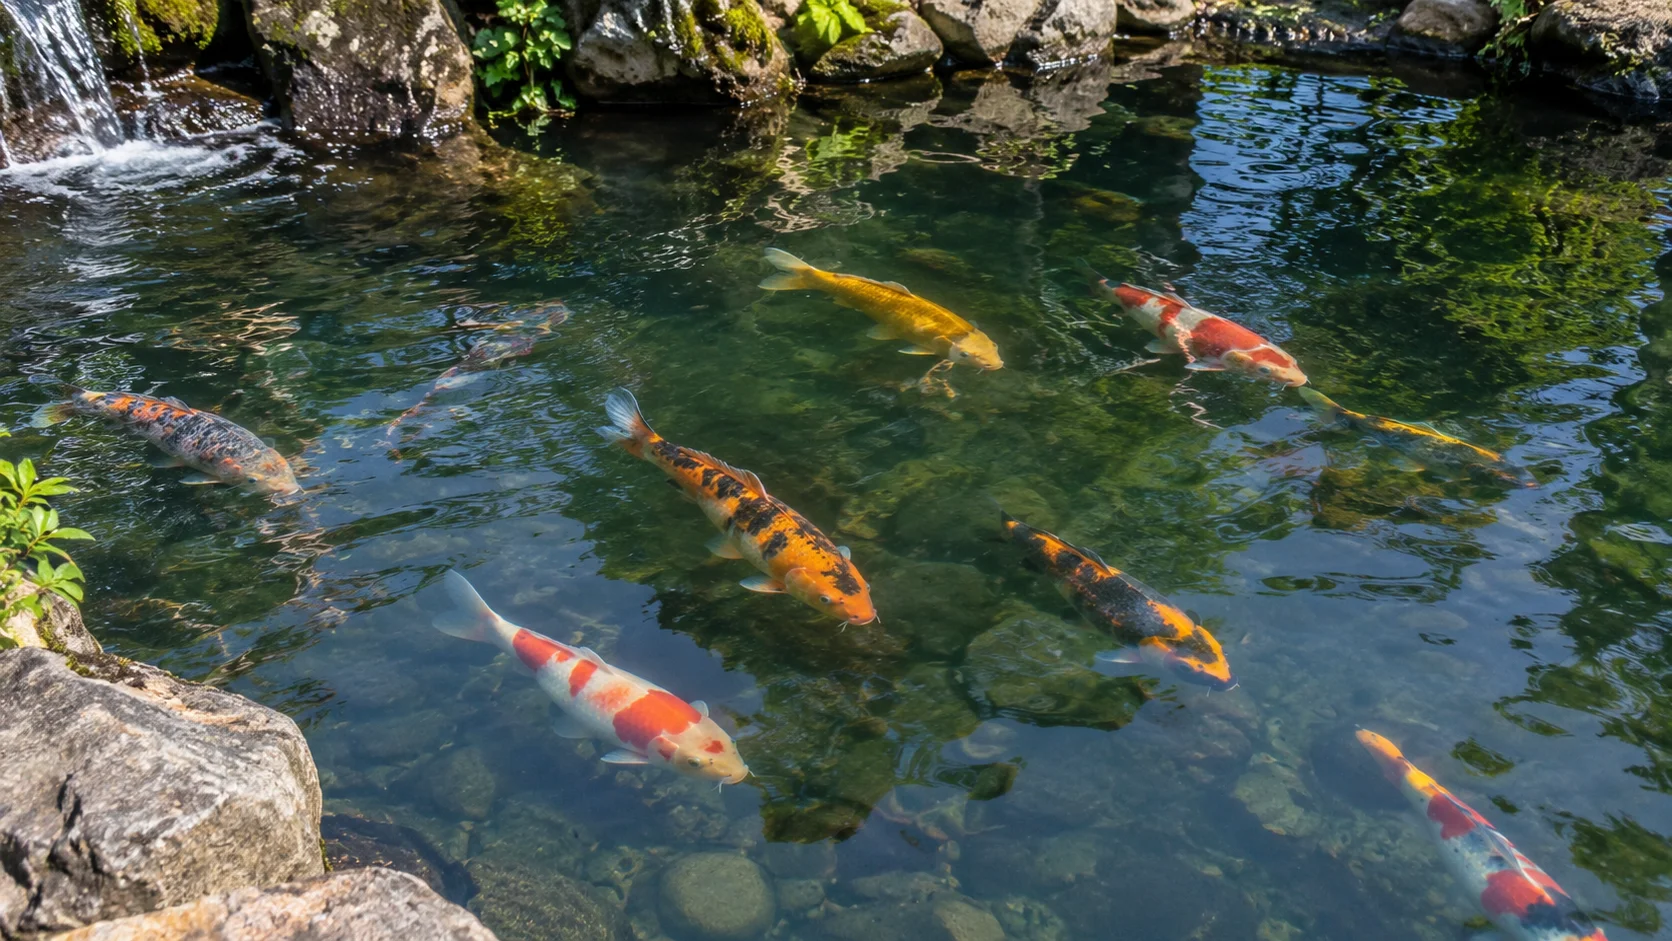
Stop feeding 24-48 hours before transport (show koi are often fasted longer, up to several days). This is one of the most consistently recommended steps across experienced koi keepers, and it’s easy to skip by accident: less food in the gut means less waste produced in the bag, which directly slows ammonia buildup during transit — often the single biggest factor in how well a fish tolerates a long trip.
2. Plan Ahead
Have everything ready before you start: container, net or paint bucket, rubber bands, and your transport vehicle. Factor in the distance and time of day you’re traveling, since both affect how much the water temperature will shift along the way.
3. Choose the Right Container or Bags
For short trips, a sturdy plastic container with a lid or a proper fish transport bag works well. For longer journeys, a rigid plastic or fiberglass tank is a better choice. Never use trash bags or generic plastic bags not designed for live fish — they’re prone to leaks and tears that regular fish bags are built to resist. For larger koi, use bags at least 36 inches long, and bag each large fish individually rather than grouping several together, which reduces injury risk and keeps oxygen better distributed.
The KoiMaster Heavy Duty Live Koi Transport Bags (20″x48″, 4 mil, case of 8) are purpose-built for koi specifically, sized for larger fish that standard aquarium bags can’t accommodate.
4. Prepare the Container
Fill with water from the koi’s existing pond, and add a water conditioner to neutralize chlorine and other contaminants. A slime-coat product added to the water helps protect the fish’s protective mucus layer during the stress of handling and transit. For longer trips, an ammonia-neutralizing additive (containing zeolite or a similar binder) helps keep the water safer as waste accumulates. Add an air stone or oxygen source for anything beyond a very short trip.
5. Catch and Bag the Koi
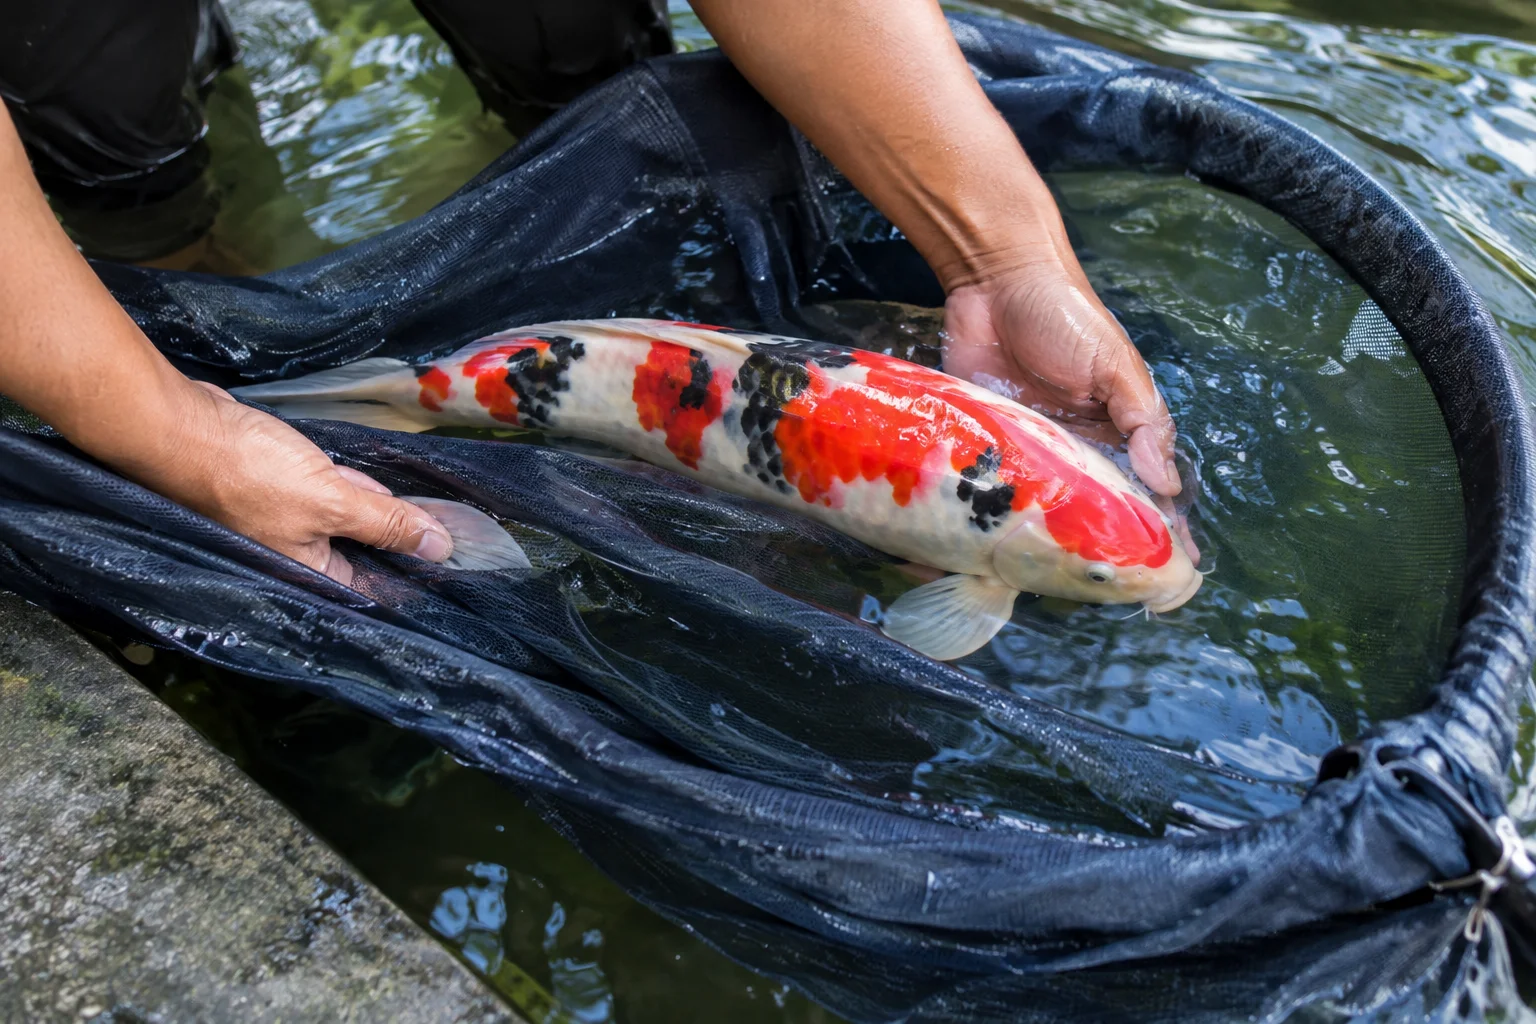
Use a soft net or a paint bucket — a bucket is gentler than a net for larger koi, since nets can cause injury on bigger fish. If you do handle the fish directly, wet your hands first rather than touching them dry — dry hands strip away more of the protective slime coat than wet ones. Slip the bag over the fish head to tail, leave enough water to fully cover the gills, and leave adequate air space above the water. Double-bag for extra leak protection, secure tightly with rubber bands, and place the bag inside a box or dark liner to block out light and reduce stress.
A koi sock net is worth having specifically for this step — its soft, coarse mesh and open-ended design let you guide a koi in gently rather than scooping it, reducing fin and scale damage compared to a standard net.
6. Transport the Koi
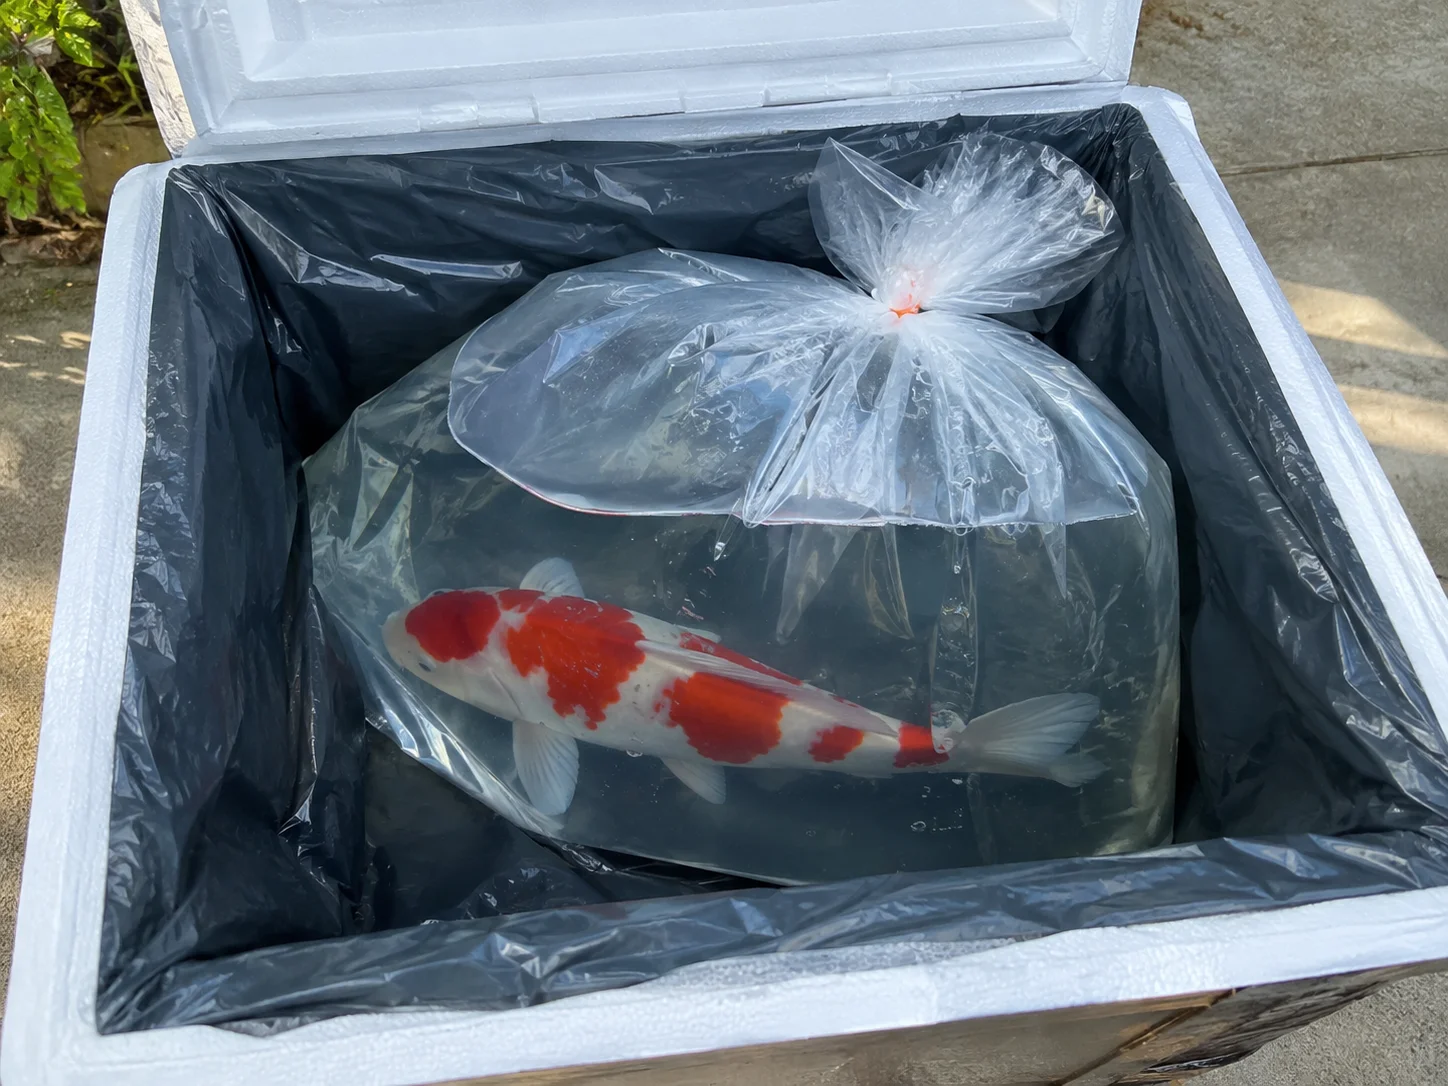
Keep the water temperature as stable as possible and minimize jostling — secure the container flat and upright in the vehicle. For trips longer than about an hour in hot weather, external ice packs (kept outside the bag, not touching the fish directly) help keep the water from overheating. As a general ceiling, most koi can safely stay in a properly oxygenated bag for 6 to 8 hours — beyond that, water quality degrades enough that it’s worth minimizing time further if at all possible.
7. Re-Acclimate at the Destination
Float the sealed bag on the new pond’s surface for 15-20 minutes to equalize temperature, then gradually add small amounts of the new water into the bag over the following 15-20 minutes rather than releasing the fish immediately. This gives the koi time to adjust to the new water chemistry instead of experiencing a sudden shift.
Long-Distance and International Transport

Longer trips are genuinely harder on koi than local moves — ammonia builds up in the bag, pH drops over time, and the fish gets jostled repeatedly. This is part of why domestic (locally bred) koi tend to have noticeably higher first-year survival rates than freshly imported fish: beyond the physical stress of a long trip, imported koi are also encountering unfamiliar local bacteria, viruses, and parasites for the first time, with no built-up immunity the way domestically raised fish typically have.
For koi traveling by air, they’re generally bagged with pure oxygen (not just ambient air) and sealed securely — cooler water temperatures during transport also help by slowing the fish’s metabolism, reducing how much waste it produces in the bag along the way.
Moving Koi in Winter
If your pond is at least 4 feet deep, koi can typically stay in place through winter rather than needing to be moved — see our guide to winterizing a koi pond for how to manage that safely. If a winter move is unavoidable, keep in mind koi’s metabolism has already slowed for the season (they stop eating below about 50°F), so handle them gently and expect a slower recovery from the stress of transport than you’d see in warmer months.
Frequently Asked Questions
How long should I fast koi before transport?
24-48 hours is standard for most moves; show koi are often fasted longer, up to several days. Less food in the gut means less waste produced in the bag, which slows ammonia buildup during transit — one of the biggest factors in how well a fish handles a long trip.
How long can koi stay in a transport bag?
For most trips, aim to keep transit under a few hours. Longer trips are manageable with proper preparation (pure oxygen, temperature control, minimal jostling), but ammonia buildup and dropping pH become bigger risks the longer a fish stays bagged.
How do you re-acclimate koi after transport?
Float the sealed bag on the new pond’s surface for 15-20 minutes to match temperature, then gradually add small amounts of new water into the bag over another 15-20 minutes before releasing the fish. Never pour straight from the bag into the pond.
Why do imported koi have lower survival rates than domestic koi?
Beyond the physical stress of a long trip, imported koi are exposed to local bacteria, viruses, and parasites they have no built-up immunity to, unlike domestically raised fish that have adapted to those same pathogens over generations.
Can you transport koi fish by plane?
Yes, though it requires proper preparation — koi are typically bagged with pure oxygen and sealed securely for air travel. Check airline-specific policies for live fish, since requirements vary.
You may also like
Also check out our koi fish charm pendants and koi fish paintings in our shop.


Passionate about fish keeping since elementary school in the 1980s, Giovanni Carlo has dedicated countless hours to collecting and breeding a diverse array of ornamental freshwater fish. From vibrant guppies and majestic koi to striking bettas and classic goldfish, he continues to explore the fascinating world of aquatics, sharing knowledge and enthusiasm with fellow fish enthusiasts.